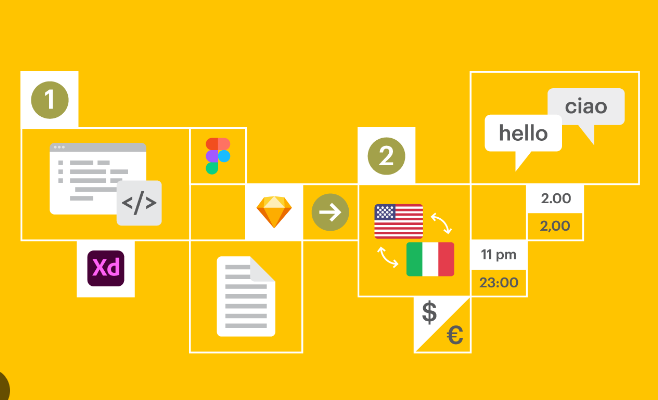
Implementing internationalization and localization in Java full stack applications allows you to support multiple languages and adapt the application’s content and user interface based on the user’s locale. Here’s an overview of the steps involved:
- Identify Localizable Content:
Identify the text and content in your application that needs to be localized. This includes UI labels, error messages, tooltips, and any other text displayed to the user. - Use Resource Bundles:
Create resource bundles for each supported language. A resource bundle is a properties file that contains key-value pairs representing localized text. Create separate resource bundles for each language, such as messages_en.properties for English, messages_fr.properties for French, and so on. - Externalize Localizable Text:
Replace hard-coded text in your application with keys that correspond to the localized content in the resource bundles. For example, instead of directly using “Hello” as a label, use a key like “label.greeting”. - Load Resource Bundles:
Configure your application to load the appropriate resource bundle based on the user’s locale. This can be done using Java’s ResourceBundle class or frameworks like Spring’s MessageSource. - Retrieve Localized Text:
Use the resource bundle to retrieve the localized text based on the user’s locale. Replace the keys with the corresponding localized text when rendering UI elements or displaying messages to the user. - Handle Date and Number Formatting:
Consider localizing date and number formatting based on the user’s locale. Use Java’s DateTimeFormatter and NumberFormat classes to format dates, times, and numbers according to the user’s locale. - Provide Language Selection:
Implement a language selection mechanism in your application to allow users to choose their preferred language. This can be done using a dropdown or a language switcher component. - Test Localization:
Test your application by switching between different languages to ensure that the localized content is displayed correctly and that date and number formatting is applied appropriately. - Handle Right-to-Left (RTL) Languages:
If you plan to support RTL languages like Arabic or Hebrew, consider adapting your application’s UI to support RTL layouts and text direction. This may involve using CSS styles and adjusting the positioning of UI elements. - Extract Localizable Content for Translation:
Extract the localizable content from your application into a format that can be provided to translators for translation. This can be done by generating resource bundle templates or using localization management tools. - Translate Localizable Content:
Send the extracted content to professional translators or translation services to translate the text into the supported languages. Maintain clear communication with the translators to ensure accurate translations. - Update Resource Bundles:
Once you receive the translated content, update the resource bundles for each language with the translated text. Ensure that the translated text is correctly mapped to the respective keys. - Continuous Localization:
As your application evolves, continue to extract new localizable content and update the resource bundles with translated text. Implement a process to manage ongoing localization efforts as your application is updated or new features are added.
By following these steps, you can effectively implement internationalization and localization in your Java full stack application, providing a localized experience for users in different languages and locales.


