Creating a Calculator WebApp through ReactJS from scratch for absolute beginners!
Overview:
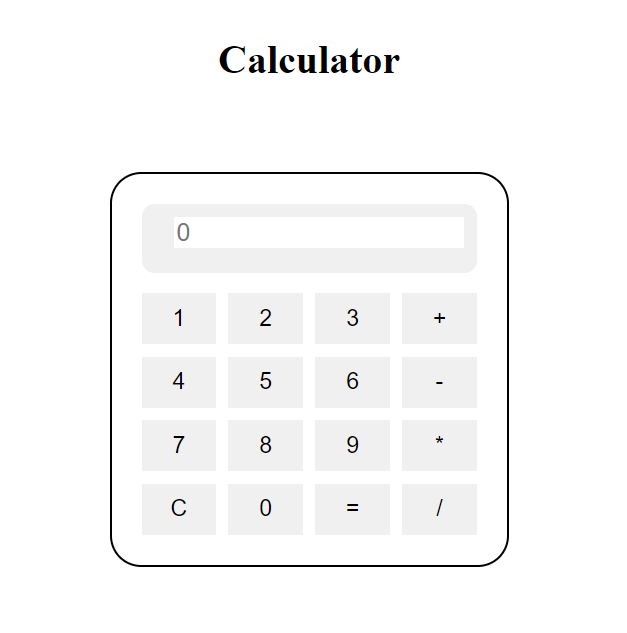
In this tutorial, we’ll walk through the process of building a basic calculator web app using ReactJS. This project is perfect for beginners looking to understand the fundamentals of React and create a simple yet functional application.
Step 1: Setting Up the Project:
Have a look at Step 1 of the following blog if you wanna understand how to setup a vite project from scratch.
Step 2: Creating the App Component:
-
App.jsx:
Step 3: Styling the Calculator:
-
App.css:
-
index.html:
NOTE: For best experience comment out the index.css file
Step 4: Functionality Implementation:
In our App.js file, we’ve defined a handleClick function to handle button clicks. This function updates the input and result states based on the button clicked.
- If the clicked button is ‘=’ (equal), it evaluates the expression and displays the result.
- If the clicked button is ‘C’ (clear), it resets the input and result.
- Otherwise, it concatenates the clicked button value to the input.
Step 5: Running the Application:
Now that we’ve completed our coding, let’s run the application. In your terminal, navigate to the project directory and run:
This command will start the development server, and you should see your calculator app running in your default web browser.
Conclusion:
Congratulations! You’ve successfully built a simple calculator web app using ReactJS. This project serves as a great introduction to React concepts like state management, event handling, and component structure. Feel free to explore further by adding more functionalities or customizing the design. Happy coding!